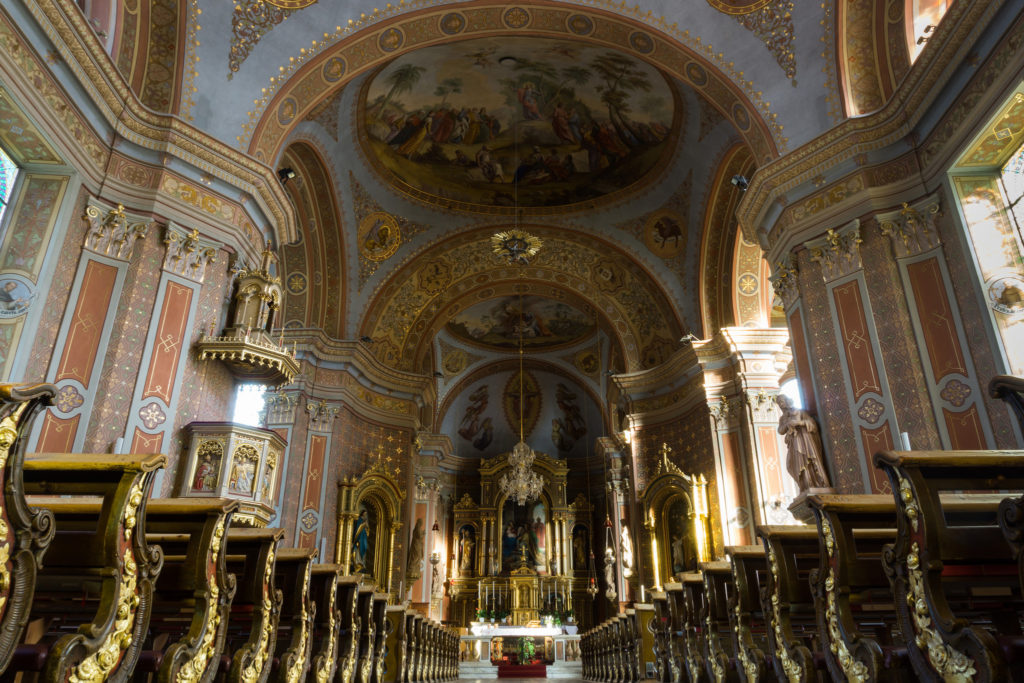
The fresco (from the Italian word for fresh) is often closely linked with Renaissance painting, however, the technique is ancient and widespread with some of the earliest examples (from 1750–1400 BC) being found in Knossos, Crete (now preserved in the Archaeological Museum in Heraklion). This fresco painting technique, of painting on freshly spread moist lime plaster with water-based pigments, has resulted in some of the finest works in art history. But how does it happen? There are five main stages in the creation of a fresco painting.
1) Firstly, get someone to pay for it. Sponsorship was vital to the Renaissance artist and, fortunately, a well funded system of patronage existed for artists to find support. It had all the usual pitfalls but the desire of wealthy people to fund the arts, whatever their base motivation, was vital in allowing many great works to be created. Samuel Johnson wryly defined a patron as “one who looks with unconcern on a man struggling for life in the water, and, when he has reached ground, encumbers him with help.”
2) Having secured the money it is time for step two; find a wall to paint on. Not just any wall. Indeed, the patron would probably have a lot to say in where the painting would end up. Either way, the wall would need some work done to it if it is to allow a fresco painting to stand. The artist would need to cover the wall with matting from woven cane ironically, given the technique to be used, this was to stop damp coming through. The fresco painting technique is suitable only for dry climates, as damp causes the plaster to crumble.
3) Step 3 is more construction. The wall would need to be plastered (with 2 layers) to form a thick, absorbent base. The main advantage of fresco over other wall-painting methods is that it produces an exceptionally permanent result. The colors become incorporated with the substance of the plaster and, if the process is properly carried out, these colors are as lasting as the plaster itself. The first base would be rather rough, with the plaster splattered on the wall. The second layer would be placed on more smoothly.
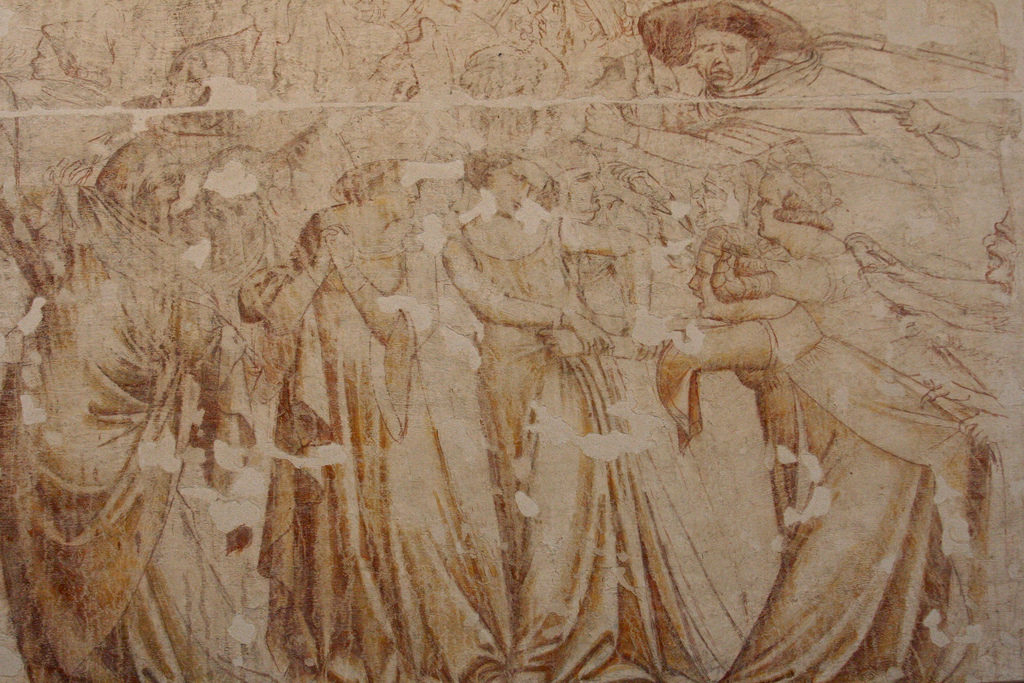
4) Having prepared the wall, the fourth step would be to sketch a rough design in brown/red pigment – a sinopia – to give the patron an idea of what will be done. One of the lesser visited sites at Pisa is the museum dedicated to different sinopie. Having made the sketches the really technical part could begin.
5) The final step is the visible part of a fresco painting. The artist must paint onto wet sections of the wall using a mixture of pure pigment and lime water. The wet plaster and paint react with Carbon Dioxide in air to form a hard, permanent surface with a translucent (shiny) color. All work has to be done before the plaster dried (painting on dry plaster is known as secco) – any error meant waiting for it to dry, removing the plaster and starting again. The sky was often added afterwards as a secco, this is because the blue pigment turns green when mixed with lime. Subsequently, this is the part of the painting which would always peel off first. When looking at a ceiling fresco specifically, look to the corners and you will see damage and peeling in the sky part before anything else.
If you find yourself on tour admiring a fresco painting somewhere (probably Italy, let’s be honest, it’s nearly always Italy) then take some time to recall the fresco painting technique used and understand that all of the preparation is what allows these colors to seem so vibrant after so many years.
Flickr photo via archer10, Paulina M
(Editor’s note: Add Paul on Google+ If you have a question about for EF Tour Director Paul Mattesini, or an idea for a blog post topic, you can email Paul here, and he will answer readers’ questions in future blog posts.)
Related articles


